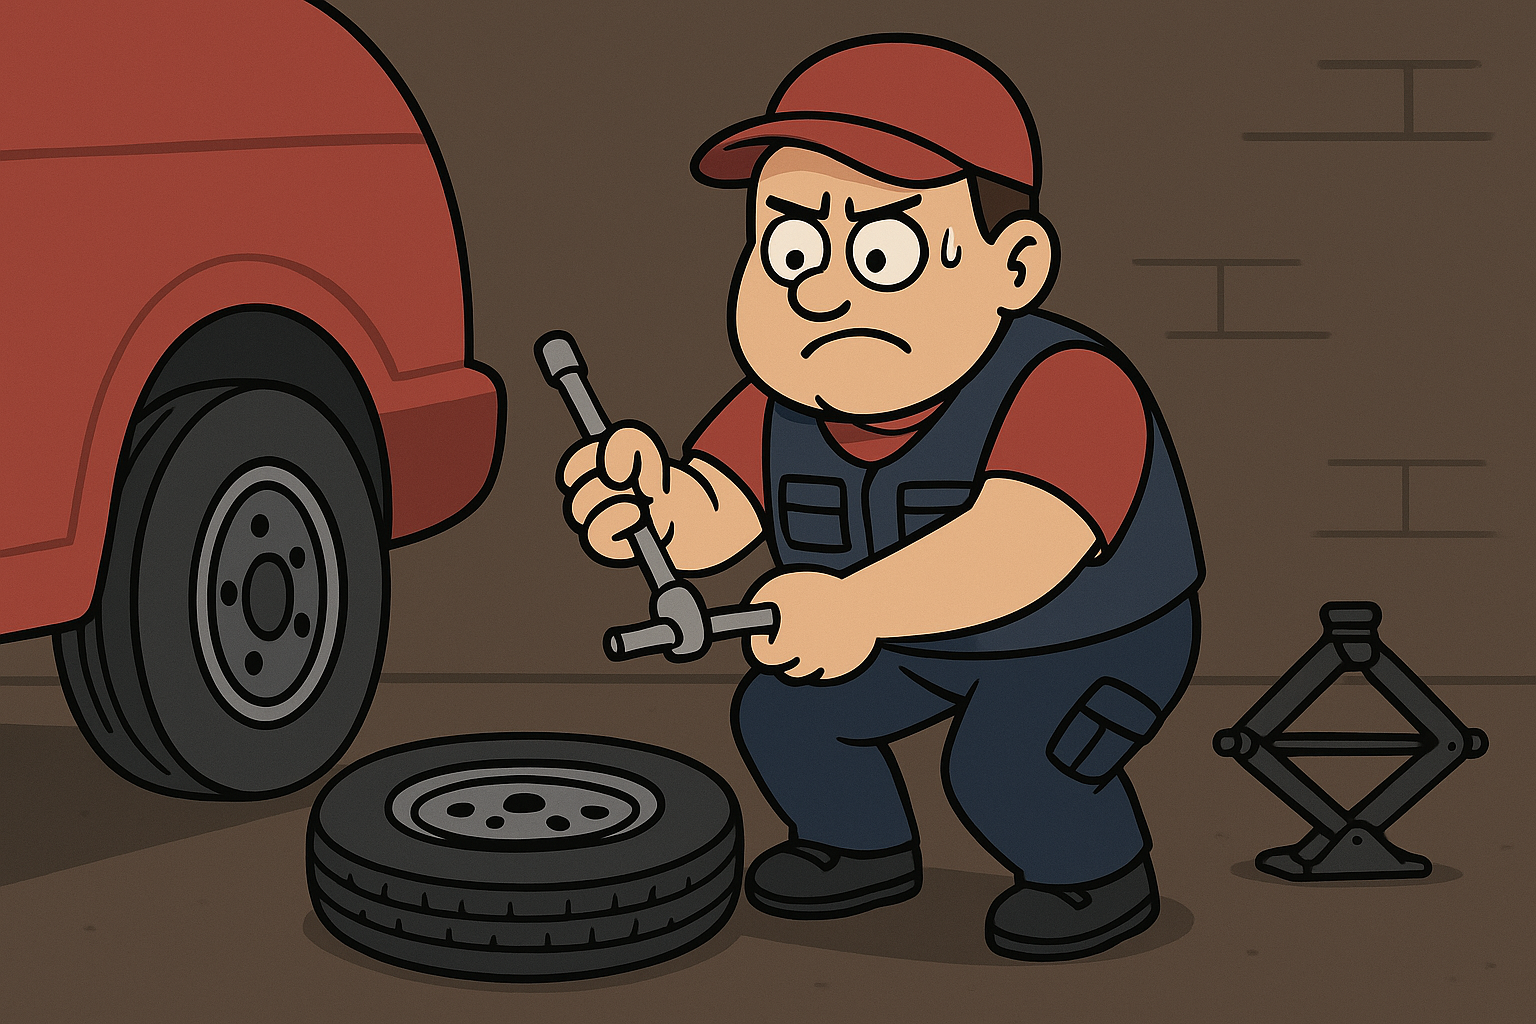
Jack (vehicle-specific jack or scissor jack) and lug wrench/tire iron (or a socket and breaker bar).
Wheel chocks or big rocks/brick to block the opposite wheel.
Vehicle owner’s manual (for jack points and torque spec). Yes, it matters.
Gloves (optional but your hands will thank you).
Flashlight/phone light if it’s dark.
Reflective vest/triangles if you’re on the roadside — don’t be invisible.
Tire pressure gauge and a pump (optional, useful).
Estimated time: 15–30 minutes if you’re calm and competent. Longer if you get dramatic.
🧭 Step-by-step (follow exactly) 🧭
Step 1: Find a safe place
Pull completely off the road: flat, solid ground. Not on the shoulder of a busy highway, not on a hill, not on gravel if you can avoid it.
Turn on hazard lights. Put on your reflective vest or at least stand like a lighthouse.
Engage parking brake. Put the car in Park (or 1st gear if manual).
Step 2: Block the wheels
Place wheel chocks (or heavy rocks) behind and/or in front of the wheel diagonally opposite the flat.
**Don’t skip this unless you want an unplanned downhill car party**
Step 3: Loosen lug nuts (while car is on ground)
Use the lug wrench. Turn the nuts counterclockwise. Break them loose — you want them loose, not off. If they’re stuck, stand on the wrench (careful) or use a breaker bar. — Tip: If the lug nuts are super tight, use your body weight and a long handle. Don’t be proud; use leverage.
Step 4: Position the jack properly
Consult your owner’s manual for the exact jack point near the flat. Position the jack under the reinforced jacking point — not under the oil pan, exhaust, or your self esteem.
Raise the jack until it contacts the car; keep it stable and vertical.
STEP 5: Jack the car up
Pump the jack to lift the tire off the ground by a few inches so it clears the rim. Keep the car straight and steady. No sudden movements. If the car becomes unstable, lower it and start over.
STEP 6: Remove the lug nuts & wheel
Finish unscrewing the lug nuts and keep them somewhere safe (the hubcap/center of the hub is a good temporary spot).
Pull the wheel straight off. If it’s stubborn, wiggle it — it may be corroded. Don’t use brute force or a hammer; be patient-ish.
Step 7: MOUNT THE SPARE
Align the spare with the lug bolts and push it on. Thread lug nuts by hand until they’re snug to hold the wheel in place.
Don’t fully tighten yet. You’ll do that when the car is lowered.
STEP 8: Lower car slightly then snug your nuts
Lower the car until the spare touches the ground and the wheel won’t freely rotate, but the car still sits on the jack enough that the wheel can’t spin.
Tighten lug nuts in a star (crisscross) pattern. This ensures the wheel seats evenly. Tighten firmly but don’t go full torque yet.
STEP 9: LOWER FULLY & TIGHTEN NUTS
Lower the car the rest of the way and remove the jack.
Now tighten the lug nuts to the manufacturer’s torque spec (owner’s manual). Typical passenger cars are often around 80–100 ft-lb — check your manual. If you don’t have a torque wrench, tighten them very firmly in the star pattern. Do not be that person who “just hand tightens.”
STEP 10- STOW EQUIPMENT & CHECK
Put the flat tire and tools away. Turn off hazard lights when it’s safe.
Check spare tire pressure as soon as possible. Many spares (space-savers) are temporary and have speed limits (usually 50 mph). Don’t pretend you can drive home at 90.
Get the damaged tire repaired or replaced ASAP. Spares are temporary, not fashion statements.
💡 Safety & troubleshooting (because life) 💡
If the car is on a slope, find a flatter spot or call for help. Don’t try jacking on soft ground — use a board under the jack.
If the jack or car moves or creaks — stop and lower the car. Reposition and secure.
If you lack tools, a spare, or confidence, call roadside assistance. No shame.
Don’t put any part of your body under the car while it’s only supported by the jack.